Part I: Conversion from Constant Speed to Fixed Pitch Propeller and Vice Versa
Part II: Propeller Governor Oil Line Nut and Elbow
 |
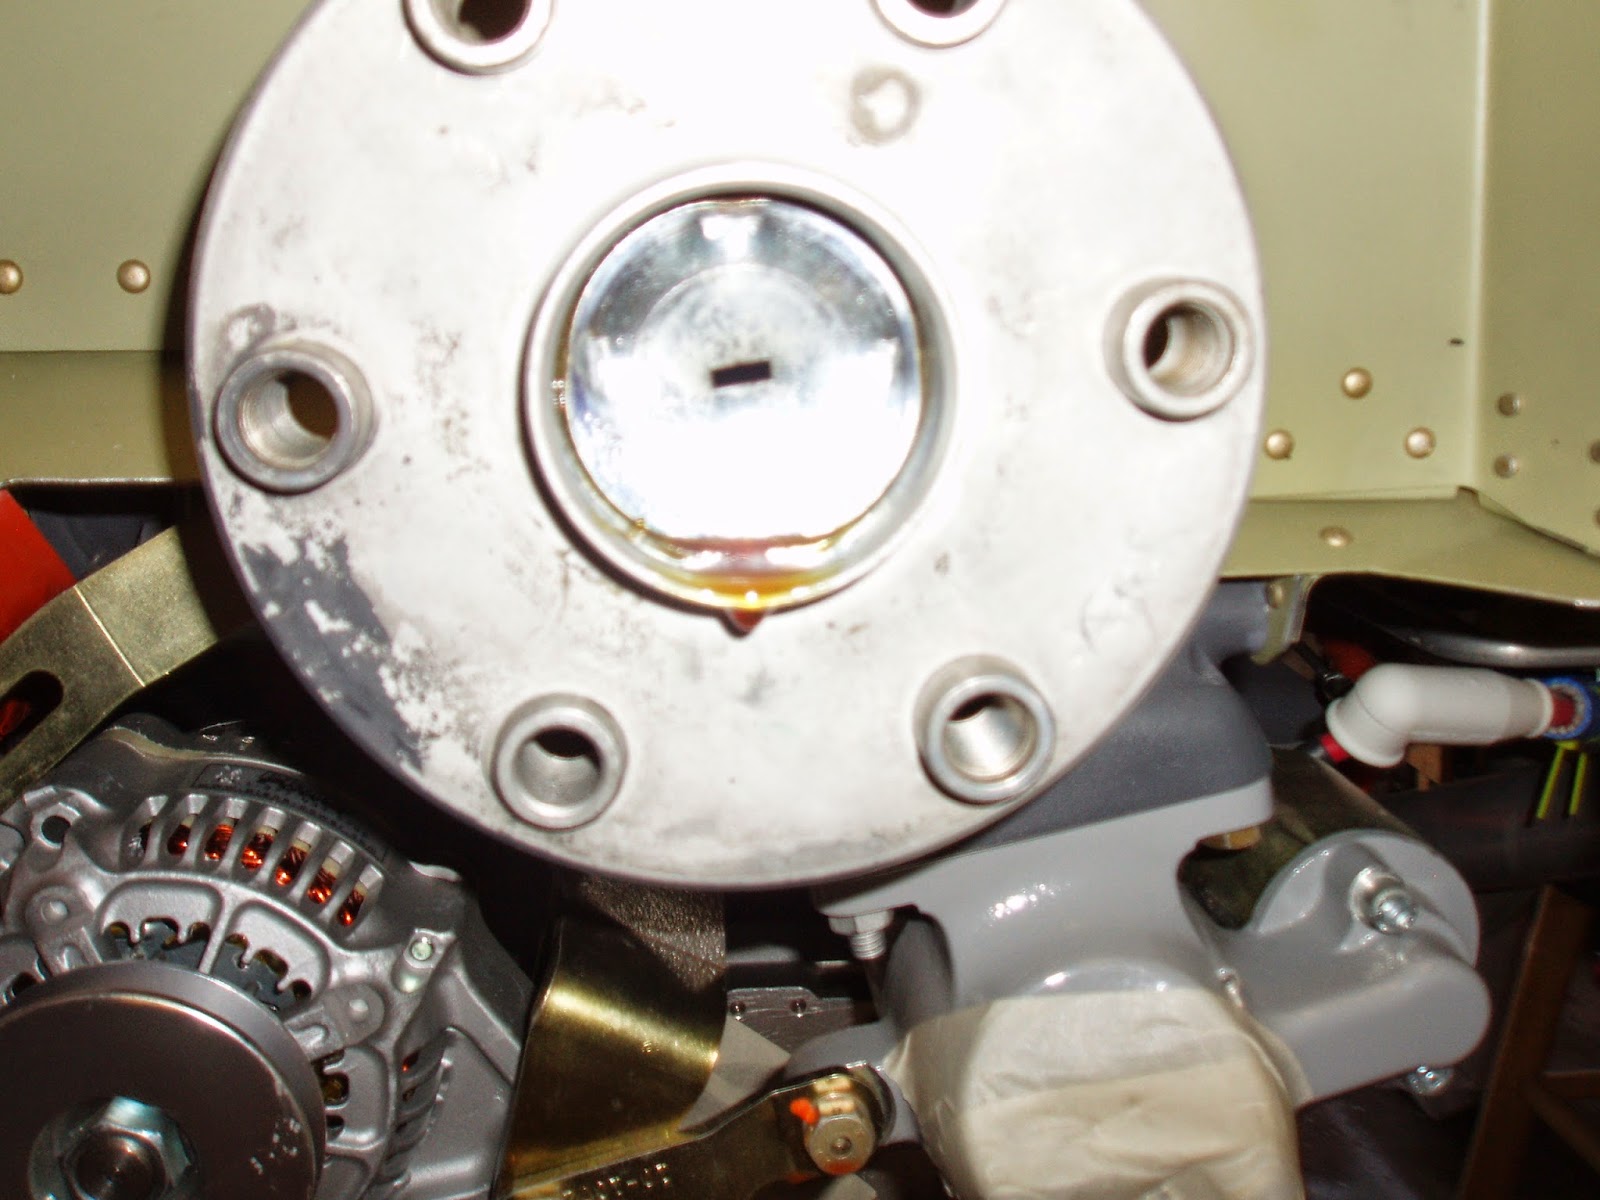
| Punctured outer expansion plug. This plug must be fully removed. |
The initial thought was that the engine could be left as is and simply not use the constant speed accessories already installed on the engine. That is, until the Service Instruction states..."The...adapter, oil line and fittings are no longer required and should be removed." A call to Lycoming confirmed that we need to perform the conversion on our engine...The representative had some encouraging reasons though. Removal of the prop governor adapter removes a good chunk of weight off the accessory section of the engine, and these parts will not experience unnecessary wear while still installed on the engine.
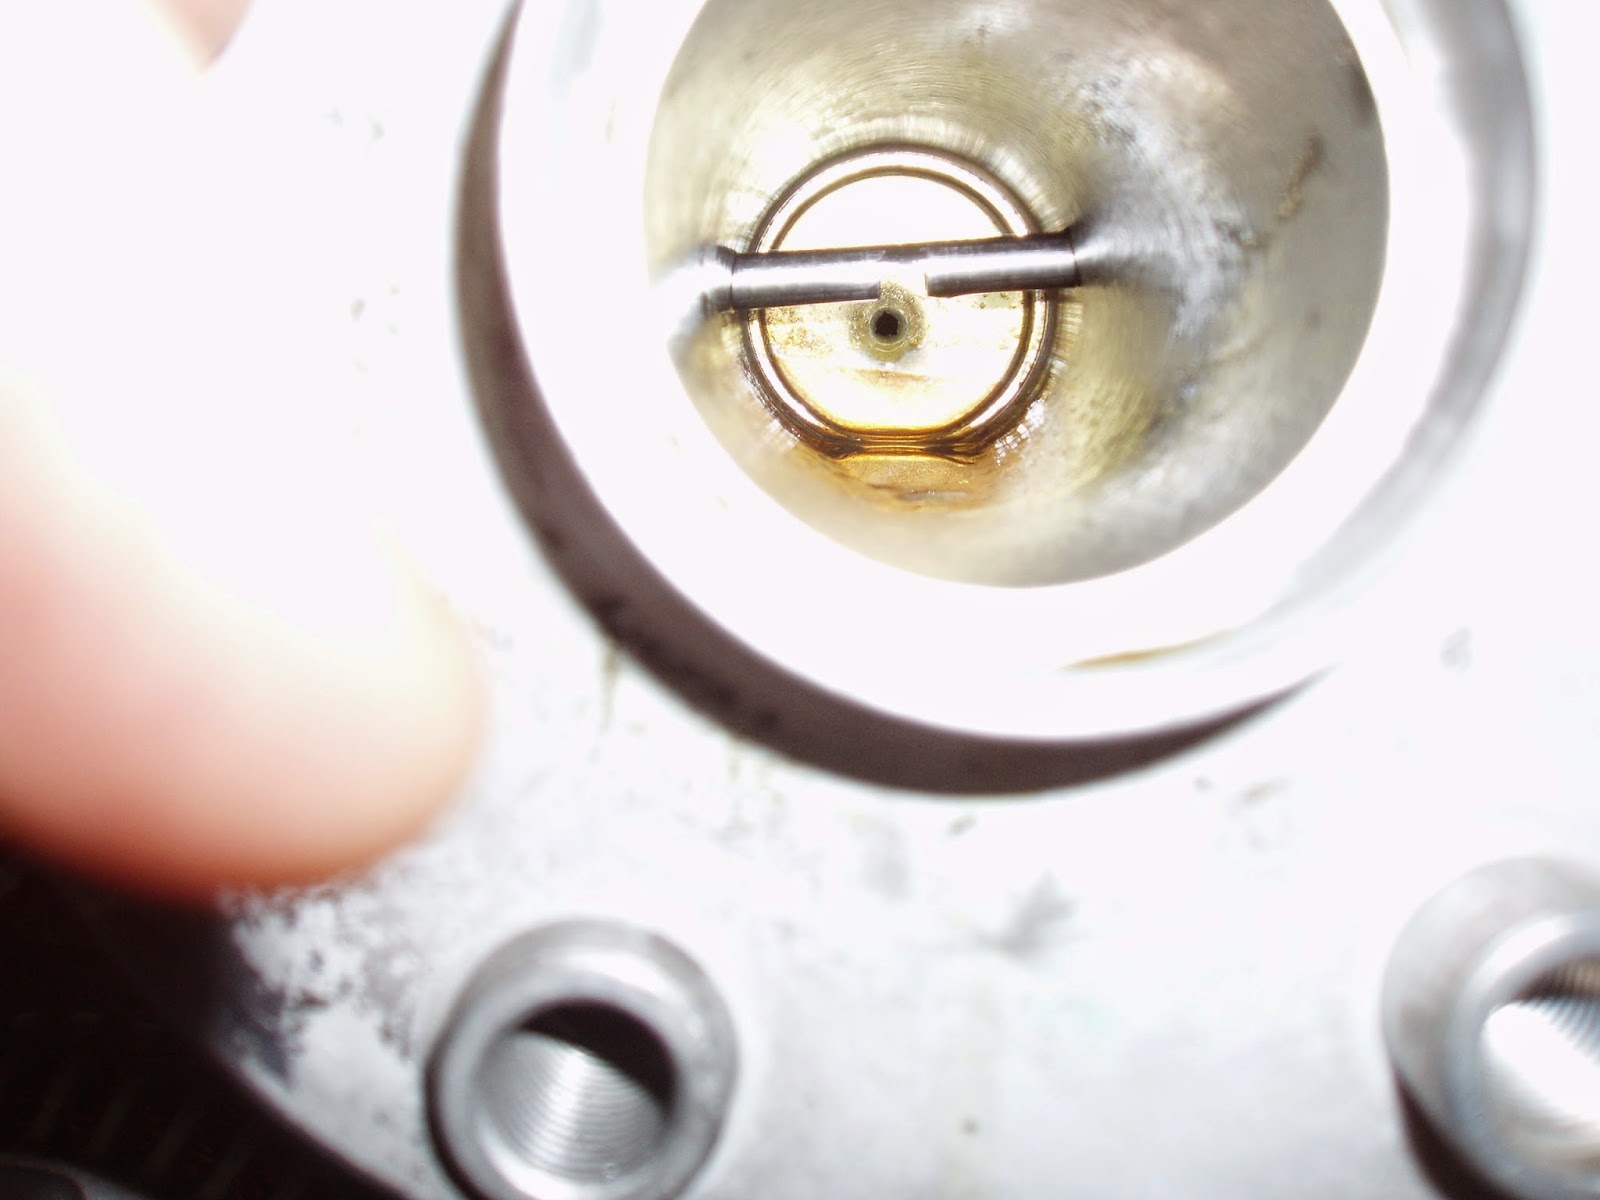
In addition, the crankshaft must also be converted by first removing the outer expansion plug (see above image) in order to access a second expansion plug deeper inside the crankshaft. This second plug must be punctured and then a new outer expansion plug reinstalled (outer expansion plug - Lycoming P/N STD-1211 available from Aircraft Spruce, P/N 07-00894). This can be a bit unnerving when trying to figure this out from the drawings in the Service Instruction.
 |
| Inner expansion plug shown after puncturing. Care must be taken not to damage the oil return tube in front of expansion plug when puncturing. |
Finishing touches included installation and safety-wiring a plug in the previous governor hose installation location at the front of the block. (image)
How did you use a slide hammer to pull and remove the inner plug? Mine is partially wedged in and leaking oil pressure and I have to install a new one once I get the old one out. Could you explain how to remove if you get a chance. I was going to drill a hole in the flag of the plug once I get it fully turned 90º and screw some kind of adapter into the drilled hole that will attach to a slide hammer. How hard was it to get past the cross tube? I may contact Aircraft Specialities to see if they loan special tools for this operation.
ReplyDelete