Please Read First!

PLEASE READ FIRST
We feel that the information we discuss here is among the best work we have done for our airplane, however, it may not work for yours. Double check and don't take our word for it.

Friday, April 10, 2015

Functional Testing - Pitch Trim Hat Switches on Stick Grips

Vertical power required pin-to pin circuit integrity testing, so most systems worked just fine when functionally tested, except the pitch trim hat switch on the pilot (L/H) stick grip. 
The R/H pitch trim hat switch was however working, so  the connectors were separated and compared. 


A quick comparison of the L/H and R/H pins both connector pins revealed pin 7 on the R/H side


but no pin in location 7 on the L/H side:


Per the schematic, pin 7 is the common for the hat switch, verdict : the L/H trim switch had no common to ground up (orange) and down (black) wires to. 


A quick jury-rig confirmed the fix:


A common was added to pin location 7 on the L/H pitch trim switch connector and proper function was restored. 

Saturday, November 29, 2014

Fuel System

We have included a description of how we installed our fuel system, because fuel system problems are one of the two most common owner built aircraft system failures (loss of control is number 2, so we will have a segment on that too). 

Vans provides two drawings:
-   DWG: 6A FUEL, BRAKE AND VENT
-   DWG: HIGH PRESSURE FUEL PUMP INSTALLATION (RV-7)
We also used:
-  FT-60 (Fuel Flow) Transducer Installation Instructions
-  Use Standard Aircraft Handbook


Strait fuel lines between selector and L/H and R/H tanks were easy, but we needed to remember to install fuel and vent system before rudder/brake system, and place bushings/grommets, sleeves and nuts on the aluminum tube before flaring the tube ends.  Fuel line is thick wall soft aluminum alloy tubing ( ATO-035X3/8) which is initially easy to bend, but it will work harden and will kink if shaped to anything more than a slight bend without a tubing bending tool such as the depicted which we used used for most bends:

The Parker flaring tool was used for all 37-degree  flares required for aircraft fuel systems :


Per the Standard Aircraft Handbook, bolt fitting or nut torque for aluminum alloy tubing is 75 to 125 inch-lbs. 
By far the most challenging component in the system was the electric high pressure auxiliary fuel pump installation (Airflow Performance P/N 3090050) and maintainable fuel filter (P/N 1090079) .  This is a cleanable 125 micron pleated stainless steel filter, with many advantages over paper which can restrict fuel flow due to susceptibility to absorb water.  This stainless steel filter will be very useful after first engine start to remove any debris which may not have been caught when lines are flushed.  Filter is readily removed for inspection and cleaning at regular intervals (after first 5 to 10 hours of operation and then during the annual condition inspection). 

To simplify and ease installation of the high pressure fuel pump installation, we installed an Andair FS20 type 3 fuel selector valve and to help route right fuel supply line clear of the manifold, we used a banjo fitting for the right fuel tank supply line.  Banjo fitting provides for a very compact 90-degree fitting as well as rotational adjustment and was the only way we were able to clear the manifold:
The Banjo fitting required safety wiring after final installation:
Final installation L/H view, with wiring for auxiliary pump and fuel flow transducer:
and R/H view:

We decided to supplemented Van's standard float type fuel gages with Flight Data System's FC-10 Fuel Computer.  Below is an image of the FT-60 Fuel Flow Transducer installed between the auxiliary electric fuel pump and the engine mechanical fuel pump. 


Sunday, November 2, 2014

Modification of the Horizontal Stabilizer to Prevent Cracking (reference SB 14-01-31)

This process is noteworthy because it will prevent cracking in the forward spar of the horizontal stabilizer, originating at the stress relief notch at the inboard end of the spar flanges.  Basically, the modification makes the spar caps softer, by removing portions of the upper and lower caps and installs finger doublers to distribute the load  into the upper and lower spar straps.  We chose to incorporate the SB instead as preventive maintenance.    Installation of the mod kit is challenging as it requires removal and installation of rivets in very confined space between the upper the lower skins. Consistent good rivet removal technique is essential so we did a lot of studying and talked with  local airframe shop mechanics on how best to remove rivets: we used a punch to punctuate the dimple at the center of each rivet, used one-size-smaller drill to remove a portion of the center of each rivet, used a soft chisel to remove the factory head and used a punch and a pair of wire cutters to wiggle the rivet  shop head out of the hole. We made no changes to the design of the modification , but we made some process improvements:
-   we left the flush-heat rivets in the center of the forward spar,  i.e. we never completely separated the left half of the stabilizer from the right, which  made the stabilizer much easier to handle and maintained  alignment of the L/H and R/H halves of the stab
-   we using the rivet removal drill guide shown here; not sure why Vans does not mention this, made proper removal of rivets much easier.


Successful removal of the forward rib


and strap attachment rivets:


which will now include the finger doublers and new aft rib angle in the stackup. 


Here is what the installed SB looks like on the forward spar face,

and on the aft spar face (R/H side)
 and LH side:
and with ribs re-installed, awaiting touch-up prime and paint.


Monday, October 20, 2014

Transition training

Soon enough our RV will be ready to take to the skies, but will we be ready? Some pilots might say, "How hard can it be?" After all, the RV-7A is not considered complex or high performance, and nothing is drastically different in its design compared to other light airplanes. But does that mean it is an airplane where a pilot without some flight instruction in that airplane can just hop in and go flying? According to the FAA, yes, simply because you don't need to have any instructor endorsements or receive flight or ground training. However, the answer should really be no! Some RV transition training should be part of your personal requirements.

This summer we each received about 8 hours of flight training in an RV-6A, N666RV, with Mr. Mike Seager over a 3 day span in Vernonia, Oregon. Mike is the go-to CFI for RV factory flight training, with tens of thousands of hours flown in all RV models. It was through this transition training that we both realized its importance. As a bonus, we got to fly in a beautiful part of the country, and in the very first RV-6A (S/N 1) built by Van himself, which now provides transition training to hundreds of RV pilots.

After the first day of flying, we had our "RV grins"
Recently I remember seeing an article about E-AB accidents over recent years. Accidents were categorized by the likely cause, and a majority were caused by "Loss of control in flight". That means pilot error - not engine problems, not structural failure, and not weather. Pilots might learn to fly RVs using skills they acquired while flying type-certificated airplanes with lesser performance and more tolerance for mistakes. While those skills will work for a while, that's probably how RV pilots get into trouble; the skills they learn aren't the proper ones.

Highlights of the Transition Training

Power to Weight
Noticeable right away upon first flying RV-6A N666RV was the power! It didn't take very much time for me to call all other single engine airplanes I had flown "underpowered" (see Power Loading Comparison). The takeoff performance of N666RV (1,400 lb and 160 hp, with fixed pitch propeller) is comparable to the Cessna 310R I flew for commercial multiengine training (a powerful airplane which is a very good multiengine training platform), a beast at 5,000 lb and 570 total hp. Only with the RV it's nice to burn just 14 gph instead of 50 gph it takes to get the C310 moving and climbed up to altitude.

Taxiing
Empty weights of less than 1,100 lb (for the RV-7A) are made possible by a simply and efficiently designed airframe. One consequence of that however, is that the nosewheel is made quite fragile. Special precautions must be taken in order to protect the nosewheel from damage. When taxiing on rough fields, it is a good idea to use full aft elevator pressure to keep stress on the nosewheel as light as possible. Since RVs have non-steerable nosewheels, the brakes see more use than in airplanes with a nosewheel steering mechanism. Vans had a clear choice in order to save weight, which is great as long as proper techniques are used. Taxiing takes a little getting used to since pushing the rudder pedals with your heels on the floor does no good on the ground. A light tap technique on the appropriate brake pedal works well for slight turns, while a constant push is needed to make tight turns. In both cases however, the rudder should be kept centered in order to maximize braking effectiveness. A good technique to accomplish this is to pivot around the balls of your feet with heels on the floor. For firm braking, lift your feet up slightly to increase braking power. In airplanes with nosewheel steering, the mechanism will return the nosewheel to the neutral position when the pedal is centered via springs. That does not happen with the free castoring nosewheel of the RV. Opposite brake pressure must be used to cancel out a sharp turn.

Takeoff
The "excess" power N666RV has makes takeoffs unique for nosewheel RVs. Mike likes to say that the nosewheel is to be used for taxiing ONLY. Any other time, it needs to be up off the ground. A normal takeoff is similar to a soft-field takeoff technique you learned in private pilot training. Here, the goal is to get the nosewheel off the runway as soon as possible in order to reduce the stress it experiences. At the start of the takeoff roll, the nosewheel should be neutral (not cocked as it would be if a turn was just completed). Verify this by rolling forward slightly to make sure the airplane does not want to turn. The control stick should also be neutral as the throttle is opened to about 2000 RPM, then smoothly advanced to full. This procedure prevents the engine torque from making the airplane difficult to steer. Heels should be on the floor, but in a position ready to apply some braking for directional control early in the takeoff roll. Simultaneously, back pressure should be applied right after applying full throttle in order to get the nosewheel up as soon as possible. At first, a greater control force will be necessary to "unstick" the nosewheel from the ground, followed by lesser and lesser force so that the nosewheel is just barely off the ground. Up to this point the takeoff has been much like the soft-field technique. The difference with the RV is that it will fly when it wants to, and there will be no need to stay in ground effect while airspeed builds (again, thanks to its low power loading). The pitch attitude needed to keep the nosewheel off the ground is perfect for an initial climb attitude, and the airplane will have impressive climb performance. Climbing through 50 ft, the best climb performance can be found by pitching up further to Vx or Vy, 78 KIAS and 95 KIAS, respectively. If making closed traffic, remember that the climb rate of the RV is probably at least twice that of the last airplane you were flying, so it's quite easy to overshoot pattern altitude!

Traffic Pattern
Flying the traffic pattern from the upwind, avoid using altitude as a measure of when to turn crosswind, since you probably got there pretty quick and didn't cover much ground. For a 1000' pattern, turn crosswind at 700' rather than the typical 400' or 500'. This will allow other (slower) traffic the space they need. Climb in the pattern at 95 to 105 KIAS, and take care not to overshoot pattern altitude! For a 1000' pattern, you will usually reach TPA during the turn to crosswind. Match reaching TPA with a power reduction to 1900 RPM and shoot for the target airspeed, 95 KIAS, and maintain pattern altitude (be precise, +/- 50 ft.). Trim for straight and level flight. Good spacing on downwind is a bit wider than we are used to, with the runway placed just slightly beyond the wingtip. The important items on the Before Landing checklist include: Seatbelts - Fastened, Mixture - Rich, Fuel Pump - On, Fullest Tank - Select, and Brakes - Check. Since the brakes on this airplane are more important for directional control, it would be good to know before landing if they are not working properly. My favorite way to follow important checklists (and not just using a flow), is to have these checklist items on a placard on the instrument panel.

Normal Landing
Mike teaches an approach that uses a slight amount of power all the way down to short final. The first power reduction on the downwind occurs abeam a reference point on the runway, which will vary depending on the wind conditions. When windy, the power is reduced to idle about 1,000 ft down the runway. When calm, the power reduction should be closer to the approach end. Idle RPM should be about 650 RPM to minimize the thrust produced and thus, help you slow down. After the power reduction, maintain the level flight pitch attitude with back pressure, and apply some up trim to maintain this sight picture. Watch the airspeed slow into the white arc, 87 KIAS, and then extend "approach" flaps. In N666RV, the flap switch controlled the motor directly, so the switch had to be held down to move the flaps. Mike teaches a 4 count hold down of the flap switch to set "approach" flaps. For our airplane, we will set the approach position to approximately 4/9 of full extension so that the flaps will go to this position just by toggling the switch briefly. Open the throttle to set 1200 RPM, and then, based on the wind, judge the turn to base. Extend full flaps on base, which adds mostly drag, and allowing you to slow down to the target approach speed of 70 to 75 KIAS, again, depending on personal preference and the airport conditions. It is easy to control airspeed with trim, and glide path with power, but in my experience these adjustments were usually not necessary, thanks to the handling qualities of the airplane. If getting low on glide, it is best to simply add power to regain groundspeed. This avoids the need to pitch the nose up too much. On short final once the runway has been made, close the throttle to idle but maintain the approach airspeed up all the way down to the roundout. Compared to other similar airplanes, I would say the approach in the RV is flown a bit "fast", but this makes it easier to land properly. A normal landing in the RV is similar to a soft-field technique in that care must be taken to keep as much weight off the nosewheel as possible. By starting the roundout a little fast, it makes it easier to gradually pitch the nose up to the proper landing attitude, and then, after touchdown, keep the nose up as long as possible. In Oregon at least, a good landing pitch attitude was to bring the top of the cowl up to the top of the trees at the other end of the runway. Unfortunately in South Texas, trees are hard to come by. The proper pitch attitude does however not let you see the runway centerline over the nose, and so you will have to look to the side to remain on centerline until the nosewheel comes down on its own.

Simulated Power Off Forced Landing
My favorite method of making a forced landing safely is to approach your field of choice (hopefully at an airport) "high" on the upwind (final approach), and then execute a series of spiral turns at best glide speed to lose sufficient altitude in order to make your field. The goal is still to come in high, but then judge your glide and extend flaps and forward slip as necessary to increase the rate of descent. At the completion of each turn on the upwind, I simply ask myself if I can make another 360 degree turn or not. Best glide speed for the RV-7A is 75 KIAS, with a pitch attitude only slightly higher than straight and level cruise flight.

Go Arounds
A go around cannot get much easier. Apply full power, and then pitch for a climb attitude, and the RV climbs well even with full flaps extended (thank you low power loading!) Since full flaps is almost entirely drag, they can be retracted from full flaps to no flaps in one motion once the climb is established.

Power Loading Comparison

How does the RV-7A compare to other airplanes as far as the amount of "excess" horsepower on hand? Well, I decided to check that out...


The chart is comparing the power loading ranges of some of the different airplanes I've flown (except for the PC-12, I haven't flown one but it's interesting to see where it is in the chart). All the lower numbers are the power loadings at the airplane's typical empty weight, followed by their MTOW power loadings.

What Van's has done for the RV-7A is really quite impressive! Because of excellent payload with full fuel (450 lb or more), flights at gross weight are not nearly as common as they are with the other light single engine airplanes. Similarly, with full fuel in the C310 and PC-12 (1,000 lb or more), not much payload is left considering the number of seats the airplanes have available. That means at typical weights, the RV-7A (even with 180 hp and not the maximum 200 hp) can have a better power loading than all the other airplanes (at typical weights) in the chart! By the time you get to the Good Ol Cessna 152, it's obvious that it can't even come close in comparison to the RV!

Sunday, October 5, 2014

AMERI-KING AK-450 ELT Installation (FAA TSO C-126)

The ELT installation is noteworthy because it is an FAA requirement, and adding the ELT remote unit to the panel was a time-consuming, delicate process.


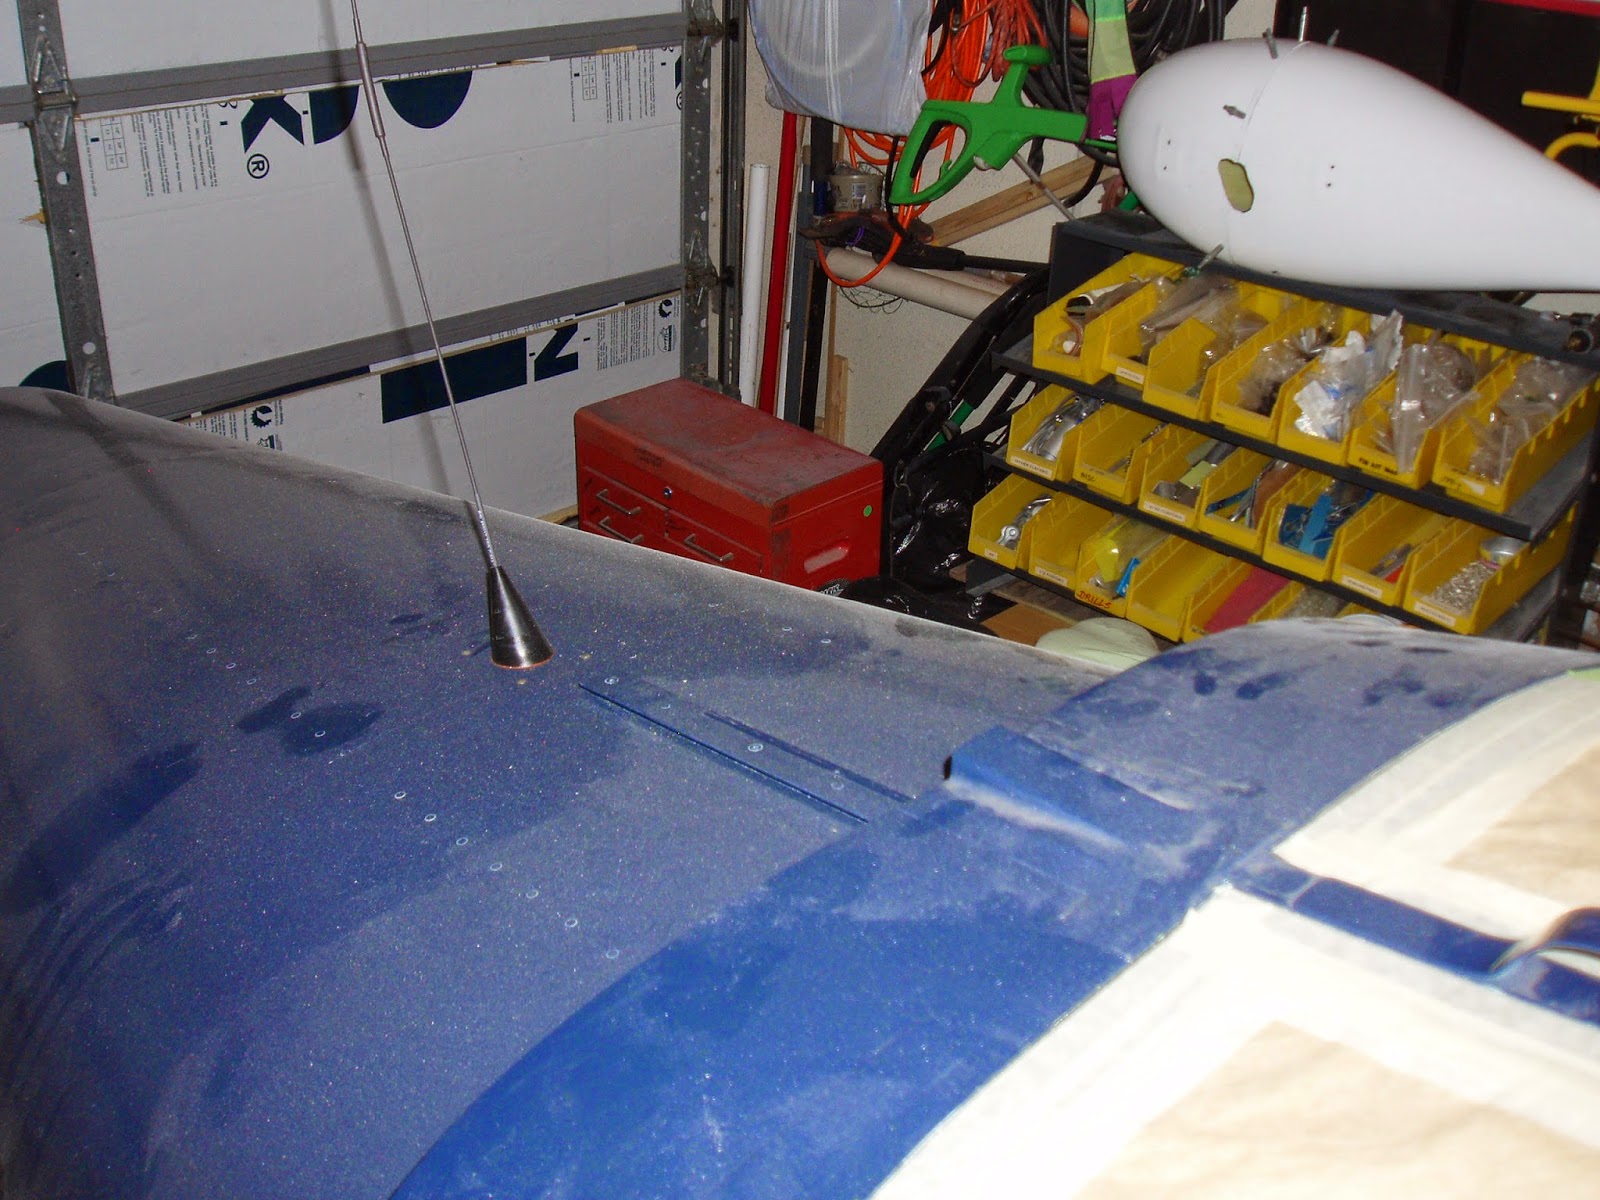
 The AK-450 was installed per manual IM-450.  The main unit  was located on right-hand side of tailcone behind the baggage compartment  using Van's bracket P/N F-7129-L.  This location  provides for short coax cable run to a vertical installation (+/- 20 degrees of vertical) just aft of the opened slider canopy.

 Per the manual, we fabricated an .032 doubler in the antennae location and treated it and the bare skin on the inside of the tailcone with MIL-DTL-81706 class 3 (Alodine 600) to provide for corrosion protection and electrical bonding to the required 36-inch diameter ground plane.  This location also provided for the 3- foot clearance from GPS and COMM antennaes required by DYNON.  


Sunday, September 14, 2014

Match Drilling and Reaming Elevator Horns

Earlier in the build, the elevators were fitting to the horizon stabilizer and the center hinge bolt was installed,  now it was time to match drill and ream the elevator horns.  This qualifies for the "noteworthy" list because it is unforgiving: if the holes in each arm are not perfectly in-line and perpendicular, the stabilizers will be out of plane when the horns are attached to the pitch control rod-end.
Left and right elevators were attached to the stabilizer and the counterweight arms clamped to the stabilizer,  but a quick check with a digital level indicated the need for some shimming between the clamps and the L/H counterweight arm.


A couple of blocks of sufficient thickness to fit snug between the arms was made and a pilot hole was drilled thru it using a drill press to ensure alignment of the  holes in the arms.  Given the difficulty of drilling weldments from Van's (that's a good thing) , I gradually increased the alignment holes until they were big enough to ream to 3/16 diameter. The bolt was installed and the arms were clamped to reveal perfect alignment of the left and right halves of the elevator. 
Angle measurement of the horizontal stab:


is the same as the angle measurement of the match-drilled elevators:


As added assurance  that the two elevators were in plane, a 4 foot level was centered between the elevator arms and an equal distance between the lower edge of the level and the elevator surface at each end of the level was verified.
L/H side:

R/H side:

Final match drilled elevator horns:


Sunday, August 3, 2014

Static noise in intercom

After final electrical configuration via VP-X, we wanted to try out the intercom and radio functions of the Garmin GNC255A. Unfortunately, there was definitely more static noise in the background than is normal, especially for a new plane with all new electrical components! Looking at the complex wire connections for the 255A and for the mic and headset jacks, it was clear that a wiring mistake could have easily been the culprit.
Confusing connection of the mic and headset jacks to Garmin
The PTT and headset connections seen above took a good chunk of time to understand. You must use shielded wire, ground the shield appropriately, and then label the wires correctly. Every wire must be shielded for as much of its length as possible - this is a major way that interference noise is kept out of the audio system. It is also important that the outside of the jacks do not contact the airframe - plastic sleeves are provided for this purpose. Troubleshooting for these problems however, did not eliminate the static noise heard inside the intercom.

Troubleshooting the wiring of the GNC255A connector and mic/headset
Here we were testing the continuity between the P2001 connector pins for the Garmin and the mic/headset jacks using an ohmmeter and d-sub test lead. Removing the radio tray and connector would not have been very easy, so doing it this way was the only way. After checking that all pins were properly connected to the mic and headset jacks, we still had a problem...

Finally, a solution arose! Up to this point, the nav portion of the GNC255A had no antenna hooked up yet. There was just the bare coax connector at the back of the radio. I decided to reconnect the laptop and run the VP-X Configurator application to see if some other device (such as the nav circuit of the radio) was causing the interference I was hearing in my headset. The 255A has two power input pins, one for the com and one for the nav. Power is normally switched to the radio via the avionics master, but in using VP-X, each function of the radio (com and nav) was designated its own power pin. Because we did not have the VP-X page function available on the EFIS (see Dynon EMS issue), the laptop was required to control power to the devices. When the VP-X screen is available on SkyView, this function can be done via the EFIS; no computer required.

With a simple click on the laptop to turn off power to the nav radio, the static noise was gone and the intercom sounded crystal clear. A subsequent test will be needed once the nav radio has the VOR antenna connected, but this test shows that when the system is wired correctly, it will work perfectly.

The source of the static noise was isolated when using the VP-X Configurator application to manually turn off power to the nav board of the 255A

Wednesday, July 23, 2014

Lycoming cruise power schedule

Lycoming recommends that for maximum engine service life, to use a cruise power of no more than 65% BHP and lean the mixture for best power (100 deg. F rich of peak EGT). This is recommended even though the maximum cruise power setting is 75% BHP (also this is the maximum percent power for leaning). The exception to this being, during new engine break-in. For the first 50 hours of operation or until oil consumption stabilizes, you should run the engine at high power setting (65 - 75% BHP) in order to properly seat the piston rings. 

But how do we know what combination of engine settings gives a certain %BHP? This information is especially vague for engines having a fixed pitch propeller. You can't simply use RPM to determine what %BHP the engine is producing - it depends on other factors; namely, pressure altitude and temperature. Running the engine at maximum RPM does not damage it provided that the corresponding %BHP is not above limits. A cruise power chart/table is needed to determine this...

Referring to the Lycoming Operator's Manual, O-360 and Associated Models, for the IO-360-M1B (180 hp), there are two engine performance charts found in this book. In Section 3, there is Figure 3-6 and Figure 3-26. 

Starting with Figure 3-26, titled "Sea Level and Altitude Performance - IO-360...-M1B", a complex looking chart used to find actual horsepower from altitude, RPM, manifold pressure, and air inlet temperature. However, it seems that this chart is primarily used when performing run-up of the engine to determine if it meets the promised performance. It is not in an easy to use format to be used in the cockpit or during preflight planning to determine cruise power settings.

In Figure 3-6 titled "Part Throttle Fuel Consumption - IO-360...-M1B", this chart simply plots fuel consumption in pounds/hour versus actual brake horsepower. Lines on the chart show 2200-2700 RPM for both best power fuel mixture and best economy. While I have never used a cruise power chart in this format before, this is the best one that Lycoming provides for our engine. For the cockpit checklists, one of the items on there will be this cruise power table, consisting of data taken from Figure 3-6...

RPM                        75% BHP (GPH)              65% BHP (GPH)               55% BHP (GPH)
2700                        11.6                                    10.5                                    9.3
2600                        11.5                                    10.1                                    9.2
2500                        11.3                                    10.0                                    9.0
2400                        11.0                                    9.6                                      8.8
2300                        10.8                                    9.5                                      8.6

After climbing to cruise altitude (which is not a factor in this table) and setting cruise power with throttle at, say 2500 RPM, the mixture would be leaned until the engine monitor shows the EGT 100 deg. F rich of peak. If the fuel flow gauge shows about 10 GPH, I'd know right away that the engine is producing about 65% BHP. The highest altitude at which 65% of power can be produced, will be when the RPM is 2700 and the leaned fuel flow is about 10.5 GPH. 


Monday, July 21, 2014

Corrosion protection for quickbuild wings

South Texas has a breeze out of the S-SE most of the year. This brings in moisture from the Gulf of Mexico where it will inevitably try and cause airframe corrosion. The humidity is so bad here that during the summer months it feels hot all the time, even in the early morning. A low layer of broken-overcast clouds frequently greets us in the morning that will often continue to persist hours past forecast times.

In choosing the quickbuild wing option, we noticed bare aluminum on the inside of the completed wings. Although a corrosion protection compound is applied to the quickbuild wings during assembly at the factory, it probably isn't as robust as an epoxy primer, especially in our climate!

Since priming was no longer an option however, we sprayed a layer of Zip-Chem CorBan 23 inside the wings for additional protection. This is an aerosol corrosion inhibiting compound that sprays on tacky but then dries to a long lasting protective film. It comes with a long application wand that sprays in a fan pattern that reaches deep inside the wing through the rib lightening holes and access panels.
 
The airframe is not the only corrosion-prone system on our -7A  in our coastal location.  Our avionics systems provides primary flight instruments, communication, navigation and engine monitoring, so we have decided to protect our avionics system connectors and terminals, using Zip-Chem's D5015NS Avionics Corrosion Preventive Compound.  We used the sprayable version (Class 2) which is QPL listed meeting the requirements for MIL-C-81309G, Type III (solid film, avionics grade).  Shake will and spray connectors and terminals before installation and we can have confidence in our electrical and avionics system.